
Latest News
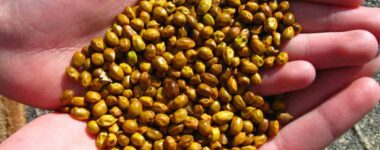 Collecting and Propagating Seeds
 China on a Plate: The Flavours of a Nation (with a Spotlight on Sichuan)
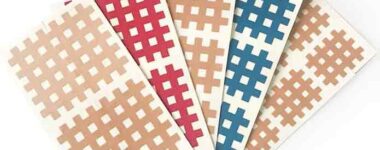 Kinesiology Cross Patches
 Camaraderie On a Walking Tour…
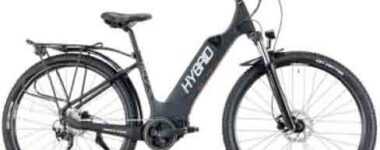 How E-Biking Has Transformed Biking Tours
Share this post:
What Causes Blisters?
Blisters can be caused by burns, allergies, skin conditions, or even insect bites, but the most common cause is friction. When friction is concentrated in a specific area, it causes cell damage. The fluid inside a blister, known as serum, helps protect and heal the damaged tissue. If there is red fluid in the blister, it indicates that capillaries in the area have also been damaged, resulting in a blood blister.
Several factors increase the likelihood of developing blisters:
- Pressure: A tight spot in your boot or a wrinkle in your sock can create a friction pressure point.
- Direct Friction: Any area where a shearing force causes the skin to slide can result in a blister. This might occur inside your boot’s heel or inside a glove where you grip a trail tool. The friction causes the epidermis (the upper skin layer) to separate, allowing fluid to enter the space and form a blister.
- Moisture: Moist skin is softer and more vulnerable to damage from friction. Sweaty feet are more likely to develop blisters.
How to Prevent Blisters
Preventing blisters requires awareness and vigilance. Once you understand the factors that increase your risk, your goal is to minimise those factors.
- Ensure Proper Boot Fit and Break-In: Properly fitted boots are the foundation of blister prevention. Ensure your boots fit well and have been properly broken in before embarking on major hiking trips. Don’t make your first hike the one that inspired you to buy the boots.
- Wear the Right Socks: When hiking, avoid cotton socks as they retain moisture. Opt for synthetic or wool socks instead, and make sure they fit properly (too large and they can cause wrinkles, too small and they can create pressure points or cause slippage). You may also want to consider:
- Wear Liner Socks: These provide an additional protective layer between your skin and your primary socks, helping to wick moisture away. Alternatively, wearing double socks can achieve a similar effect.
- Change to Dry Socks: Fresh socks help restore your feet to a lower moisture level, much like when you started your hike. They can also be useful if your socks become soaked during a stream crossing.
- Address Hot Spots Quickly: Pay attention to how your feet feel as you walk. If you sense an uncomfortable spot, stop and remove your boots and socks. If the area appears even slightly red, dry it off and apply your preferred form of protection. Many companies sell blister kits that include a range of products for both prevention and treatment. These kits might contain:
- Tape: Studies suggest that inexpensive ‘tear-to-size’ paper surgeon’s tape is effective and has a gentle adhesive. Kinetic tapes also work well. Other options include cloth and synthetic medical tapes, or even duct tape in emergencies.
- Blister Bandages with Pads and Gels: Products like 2nd Skin can be used for both prevention on hot spots and for treating blisters.
- Moleskin: This classic, cut-to-size blister protection is durable and sticks well. Similar products go by different names but serve the same purpose.
How to Treat a Blister
To treat a blister, consider one of the following options:
- Moleskin with a Hole: Cut a hole large enough for the blister, ensuring the surrounding foam keeps your sock from rubbing and further irritating the area. You can add another layer of Moleskin or tape over the top for extra protection.
- Blister Bandages (Blisterblock) with Pads and Gels: These provide a protective layer that helps prevent the blister from worsening. Pads offer cushioning, while gels soothe the area by cooling it down.
- Drain the Blister, If Necessary: It’s generally advised to avoid draining a blister, as doing so can introduce the risk of infection and remove the healing serum. However, if the blister is large and too painful to leave undrained, follow these steps:
- If the blister pops on its own, clean the area using antibiotic soap.
- Sterilise a needle with alcohol or heat. Insert the needle near the base of the blister and dress the blister as you would a wound, applying antibiotic ointment and using gauze or a Band-Aid.
While infections are rare, it’s important to monitor the blister closely. Seek medical attention if you experience the following symptoms: redness, increased pain, pus, or red streaks extending towards the nearest lymph node.
Related Posts